
Embarking on the vanlife journey is all about freedom and adventure, but staying clean on the road can sometimes be tricky. Adding a camper van shower kit to your setup isn’t just about convenience—it’s a little luxury that makes life on the road so much easier. In this guide, we’ll break down the different types of camper van shower kits, their benefits, how to set them up, and tips to keep them running smoothly so you can choose what works best for your travels.
Why Add a Shower to Your Campervan?
While public showers or natural water sources can work in a pinch, having your own camper van shower kit means you’ll always have a reliable way to stay clean. It’s especially handy if you’re going off-grid for a while or exploring remote areas. Plus, a camper van shower kit gives you privacy, convenience, and the chance to enjoy a warm rinse after a long day of adventures.
Types of Campervan Showers
The right shower setup depends on your van’s layout, your budget, and what kind of experience you’re after. Here are the most common options:
1. Portable Showers

Portable showers are a simple, budget-friendly choice, especially if you don’t mind showering outdoors. They typically consist of a bag that heats water in the sun and comes with a hose for easy use. Great for warm weather and minimalists!
Pros:
- Affordable and easy to use
- No need for permanent installation
- Eco-friendly
Cons:
- Relies on sunny weather
- Limited water capacity
- Requires extra effort to set up privacy
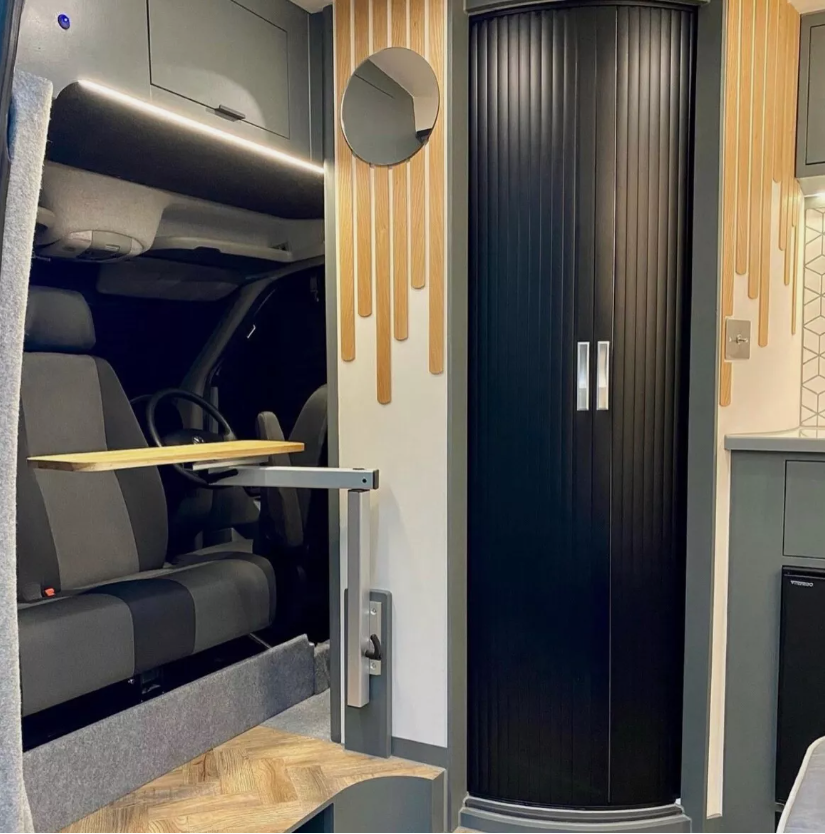
2. Fixed Indoor Showers
If you want the comfort of showering indoors, a fixed shower might be for you. It takes up more room and can be a little more complicated to install, but the convenience is worth it for many vanlifers.
Pros:
- Full privacy and comfort
- Works in any weather
- Adds value to your van
Cons:
- Takes up a lot of space
- Needs bigger water tanks
- Costs more to install
3. Full Combine Shower system
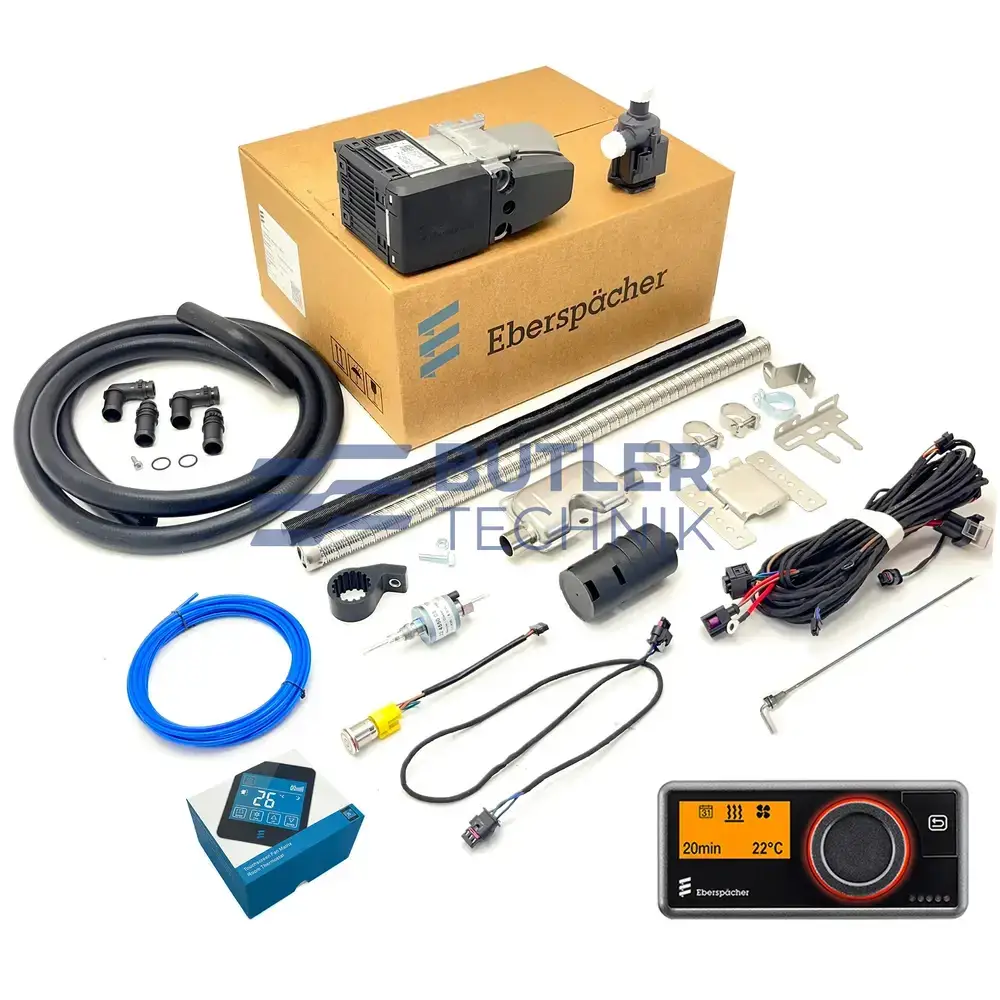
The Eberspacher Espar Diesel Heater Camper Kit:
Why you’ll love it:
- It does double duty, heating both air and water.
- With 5kW of power, it’s super efficient and reliable.
- Perfect for off-grid setups with a 12V system.
- Its compact design saves space in your camper or RV.
- Handles extreme weather with ease, keeping you cozy year-round.
What to keep in mind:
- Installation might require a professional—it’s a bit tricky.
- It’s pricier up front compared to single-function heaters.
- You’ll need access to diesel fuel to run it.
The Hydronic S3 D5E is great for those who want an all-in-one heating solution. Here’s a quick breakdown of the pros and cons:
The perks:
- Efficient heating: It heats both your space and water at the same time, saving energy and cutting down on equipment.
- Compact design: Fits easily into tight spaces, so you don’t lose valuable room in your camper.
- High-altitude readiness: Works like a charm up to 3,000 meters, so it’s ideal for mountain adventures.
The trade-offs:
- Installation complexity: It connects to your fuel system and coolant circuit, so professional help is probably a good idea.
- Maintenance: You’ll need to keep an eye on fuel filters, coolant levels, and schedule occasional servicing.
- Cost: The initial price, including installation, is a bit steep, but the long-term benefits might make it worth it.
If you’re up for the investment and want a system that combines air and water heating, the Eberspacher Hydronic S3 D5E could be a game-changer for your campervan experience!
4. Outdoor Shower Systems
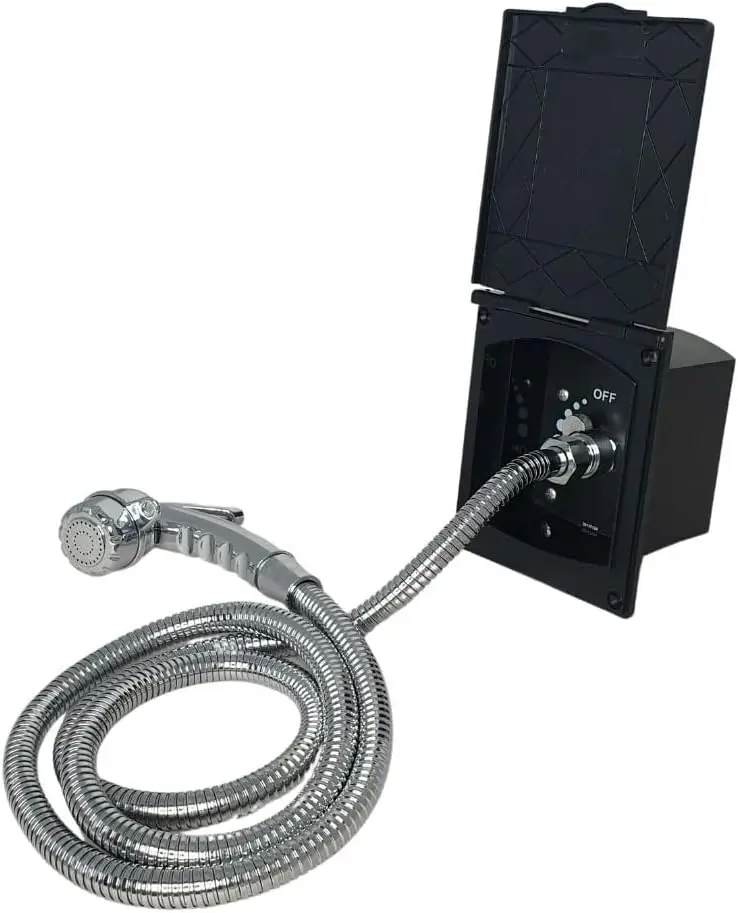
Outdoor showers are mounted on the exterior of your van and usually connect to your water system. They’re a great middle-ground option—not as permanent as an indoor shower, but more structured than a portable setup.
Pros:
- Saves space inside the van
- Easier to install than indoor systems
- Perfect for rinsing off gear or pets
Cons:
- Not very private
- Can’t always use it in bad weather
- Might need extra equipment for hot water
How Long Does It Take to Heat Water with Different Heaters?
Key Findings Summary:
Solar Heaters : Heating times range from 60 to 120 minutes, depending largely on sunlight exposure and weather conditions.
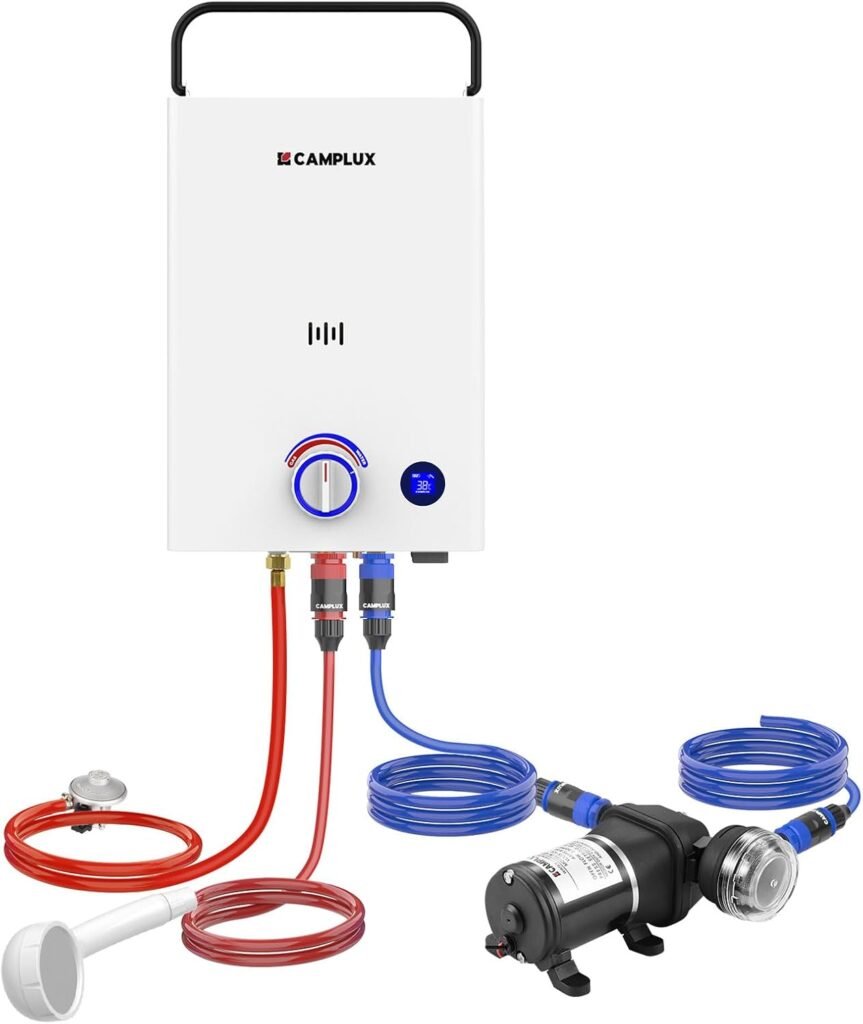
Gas-Powered Tankless Heaters: A gas-powered tankless heater can heat 20 liters of water in no time, so you’ll have hot water at a steady temperature within seconds.
Diesel Heaters: Diesel heaters are known for their impressive efficiency, often delivering hot water in just 5-7 minutes after being switched on. With their rapid heat-up time, they provide near-instant hot water from the very first drop, making them significantly faster than traditional gas water heaters.
Things to Think About Before Installing a Shower
Before you commit to a shower system, here are a few key things to consider:
- Space: Make sure you have enough room for your setup without losing too much living space.
- Water Storage and Heating: Figure out how much fresh and grey water storage you’ll need and how you’ll heat your water.
- Ventilation: Proper airflow is essential to prevent mold and moisture buildup.
- Budget: Keep in mind the costs for materials, installation, and upkeep.
With the right shower setup, you can enjoy all the adventures of vanlife without sacrificing comfort. Whether you’re rinsing off after a hike or just freshening up at the end of the day, a campervan shower is a game-changer!
Installing an Indoor Campervan Shower: A Step-by-Step Guide
Adding an indoor shower to your campervan might feel like a big project, but with some planning and effort, it can make van life so much more comfortable. Whether you’re gearing up for long-term adventures or just looking to add a bit of extra convenience, this guide will take you through the steps to get it done.
What You’ll Need
Before you get started, make sure you have all the essentials ready to go. Here’s what you’ll need:
- Water pump:
- Freshwater and graywater tanks
- Shower Tray
- Shower curtain or door
- Plumbing pipes and fittings
- Silicone sealant
- Drill and drill bits
- Screwdriver
- Jigsaw
- Measuring tape
- Level
Take time to figure out the layout of your van before buying materials. Accurate measurements will save you a lot of headaches later!
Step 1: Pick the Perfect Spot
First, decide where the shower will go. Popular spots are near the rear doors or tucked into a corner. Think about things like water tank placement, plumbing access, and making sure the location offers enough privacy.
Step 2: Install the Water Tanks
For long-term trips, having two tanks is a good idea—one for fresh water and one for graywater. Freshwater tanks usually go under the sink or in an external compartment, while graywater tanks are typically installed underneath the van.
Step 3: Set Up the Plumbing
Now it’s time to tackle the plumbing. Connect the tanks to the water pump, and run pipes and fittings to where your shower will be. Plan out your setup carefully to make sure everything fits and works properly.
Step 4: Build the Shower Pan
Using a jigsaw, cut out a spot in the van floor for your shower drain. Install the shower pan, making sure it’s level and securely in place.
Step 5: Add Privacy with a Curtain or Door
For privacy, you can either hang a shower curtain or install a small door. Just attach brackets to the walls and hang the curtain or secure the door in place.
Step 6: Install Fixtures
Finally, set up your shower fixtures. This includes the showerhead, faucet, and knobs for controlling water temperature and pressure. Make sure everything is securely attached and properly connected to the plumbing.
Tips and Extras
- A handheld showerhead is super handy and makes cleaning easier.
- Save space by using collapsible or foldable fixtures.
- Use waterproof materials like marine-grade plywood or plastic panels for the shower area.
- Seal any gaps or seams to prevent leaks.
- Add a small fan or window for ventilation to avoid moisture buildup.
- Consider installing small shelves or racks in the shower for toiletries and towels.
Wrap-Up
Having an indoor shower in your campervan makes life on the road so much easier. With a bit of planning and effort, you can create a comfortable, functional shower space that adds a lot of convenience to your travels.
Whether you’re exploring the great outdoors or just enjoying van life, an indoor shower is a game-changer. So get ready, gather your tools, and create a setup that works for you. Happy camping and safe travels!
1. Planning and Design
Proper planning is the foundation of a successful campervan shower installation.
- Layout: Determine the best location for your shower, taking into account the available space, weight distribution, and proximity to the water tanks. Consider how the shower placement might affect the van’s balance and functionality.
- Materials: Opt for lightweight but durable materials, such as fiberglass or PVC panels, for walls and flooring. These materials are not only waterproof but also easy to clean.
- Waterproofing: Plan for high-quality sealing and waterproofing to prevent leaks that could cause long-term damage to your van. Use waterproof membranes, sealants, and proper caulking in all seams and joints.
2. Gathering Necessary Components
Having the right components is key to a functional and durable setup that meets your needs.
Drainage System: Use high-quality, flexible pipes leading to a grey water tank that can be emptied easily when full. Ensure the drainage system is leak-proof and well-sealed.
Shower Tray: Choose a lightweight, durable tray designed to fit your van’s dimensions. Ensure it has a drain fitting compatible with your plumbing system.
Shower Enclosure: Decide whether to install solid walls, folding panels, or waterproof curtains to contain water spray. Solid walls provide durability, while curtains save space.
Water Heater: Consider your specific needs—propane heaters are efficient, electric options are convenient with power access, and diesel heaters are great for all-season use.
Water Pump: Install a pump strong enough to provide steady water pressure while conserving water. Look for a pump with an automatic shut-off feature to prevent overuse.
3. Installation Process
Once you’ve planned and gathered your materials, it’s time for the installation.
- Framing: Build a sturdy frame to support the shower enclosure. Use materials like aluminum or treated wood to balance strength and weight. Ensure the frame is mounted securely to the van’s floor and walls.
- Plumbing: Install water supply and drainage pipes. Use flexible piping for easier installation in tight spaces. Ensure all connections are sealed tightly to prevent leaks. Test the piping system for leaks before moving to the next step.
- Waterproofing: Apply waterproof membranes and high-quality sealants around the shower tray, walls, and any seams. This step is critical to avoid water damage to your van.
- Ventilation: Install a roof vent, exhaust fan, or small window to prevent moisture buildup, which could lead to mold and mildew. Proper ventilation is essential for maintaining a healthy indoor environment.
- Finishing Touches: Install the showerhead, faucet, and any additional fixtures. Opt for compact, lightweight fixtures that won’t add unnecessary weight to your van. Add a shower curtain or door, depending on your design choice, and test everything thoroughly to ensure functionality.
For those who prefer a visual guide, there are plenty of step-by-step videos online that can provide more clarity on the process.
Installation Materials and Tools Checklist:
Framing
Let’s start with the basics—building the frame. Here’s what you’ll need:
- Aluminum or treated wood: For a strong, durable frame.
- Saw: To cut framing materials to the perfect size.
- Measuring tape: Ensures precise alignment and accuracy.
- Screws and brackets: Essential for securely holding the frame together.
- Drill and screwdriver: Tools you’ll rely on frequently for assembly.
- Level: A must-have to avoid a crooked shower frame.
- Floor and wall mounting hardware: Use anchors or bolts, depending on your van’s setup.
Plumbing
Time to make sure water flows where it’s supposed to! You’ll need:
- Flexible piping: Ideal for both water supply and drainage needs.
- Pipe fittings: Includes elbows and T-joints for seamless connections.
- Hose clamps: Essential for keeping everything securely in place.
- Thread seal tape: A must-have to prevent any leaks.
- Pipe cutter: Perfect for trimming pipes to the exact size you need.
- Water pump: Useful if additional water pressure is required.
- Drain assembly: Connects the shower tray to the drainage system effortlessly.
- Silicone sealant: Ensures all joints are properly sealed.
- Bucket or container: Handy for leak testing before finishing the job.
Waterproofing
Keep the water where it belongs—inside the shower! Here’s the must-have list:
- Waterproof Membrane: Essential for covering the shower tray and walls.
- High-Quality Waterproof Sealant: Perfect for sealing edges and seams securely.
- Paintbrush or Roller: Ideal for applying the waterproof membrane evenly.
- Caulk Gun: Simplifies the application of sealant for a smooth finish.
- Shower Tray Liner (optional): Adds an extra layer of waterproof protection.
- Utility Knife or Scissors: Handy for cutting the membrane to the required size.
Ventilation
Nobody likes a steamy, damp van. Here’s how to keep things fresh:
- Roof vent, exhaust fan, or small window : (choose what best suits your design)
- Ventilation fan installation kit: (typically includes screws and mounting brackets)
- Jigsaw: (for cutting a precise hole for the vent or window)
- Weatherproof sealant: (to ensure no leaks occur)
- Screwdriver and drill: (essential for installation)
- Insulation tape: (perfect for sealing any minor gaps)
Lighting
Brighten up your shower space with these essentials:
- Waterproof LED Lights: A must-have for durable, weather-resistant lighting—these will transform your setup.
- Power Cables: Essential for connecting your lights to your van’s electrical system.
- Switch or Dimmer: Perfect for setting the mood with adjustable lighting.
- Wire Connectors: Ensure all connections are secure and reliable.
- Drill: Ideal for mounting your lights with precision.
- Heat-Shrink Tubing or Electrical Tape: Protects your wiring, keeping it safe and insulated.
- Electrical Tester: A crucial tool to verify that everything is functioning safely and correctly.
Finishing Touches
Now for the fun part—making it all functional and stylish:
- Showerhead and Faucet: Opt for compact, lightweight options for ease of use.
- Mounting Brackets: Essential for securing the showerhead in place.
- Shower Curtain or Door: Choose based on your style and preferences.
- Curtain Rod or Door Hinges: Necessary for proper installation of your curtain or door.
- Lightweight Shelves or Holders: Ideal for keeping toiletries organized and accessible.
- Cleaning Supplies: Don’t forget a cloth and soapy water to clean up after installation.
- Water System Testing Tools: Crucial for identifying potential issues before they become problems.
This checklist has you covered from start to finish for your van shower project. Take it step by step, and you’ll be showering in style in no time!
Conclusion
Adding a shower to your campervan is a game-changer that brings convenience and comfort to your travels. With proper planning, the right components, and a bit of effort, you can create a functional, durable shower setup tailored to your needs. Whether you’re navigating the challenges of installation or deciding on a heating method, every step is worth it when you can enjoy a hot, refreshing shower after a long day on the road.
Happy building—and even happier showering!